


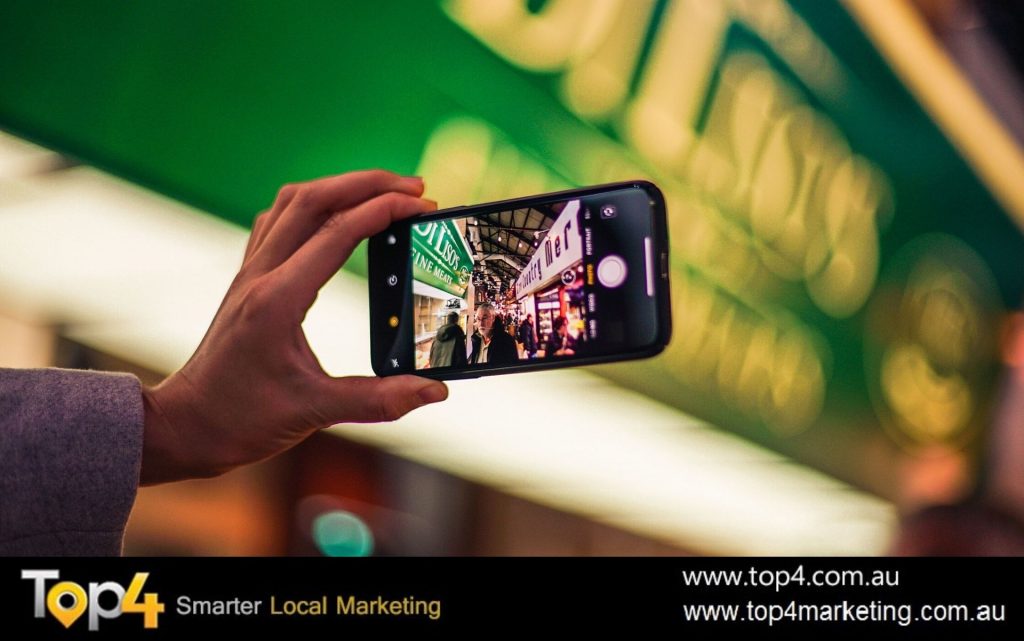
It has never been easier for anyone with a smartphone or a digital camera to record their own video footage and broadcast it to anyone. Simply pull the smartphone from your pocket, click record, and you have footage you can edit and distribute instantly.
But, it takes more than that for your footage to look professional.
Here are some quick tips for creating up-to-scratch videos with a smartphone or digital camera.
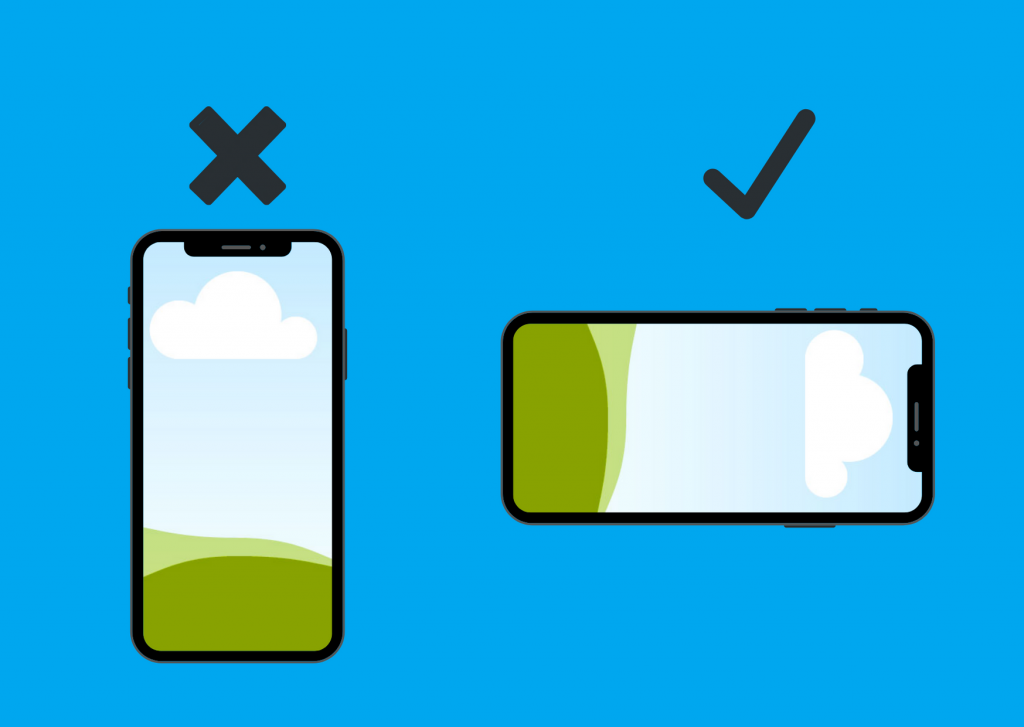
1. Don’t shoot vertical video
For some reason, tech-giants made it an option to record vertical or portrait footage with a smartphone. While this may make sense with a device which has a screen in portrait orientation, this does not translate well on any other device. Vertical video syndrome is real. Computer monitors, televisions, even websites, all have landscape-oriented displays. You wouldn’t expect to go to the cinema and see the screen turned on its side. We live in a widescreen world.
Although there are apps that can counter this, do the world and yourself a favor by turning your phone on its side and recording horizontal footage.

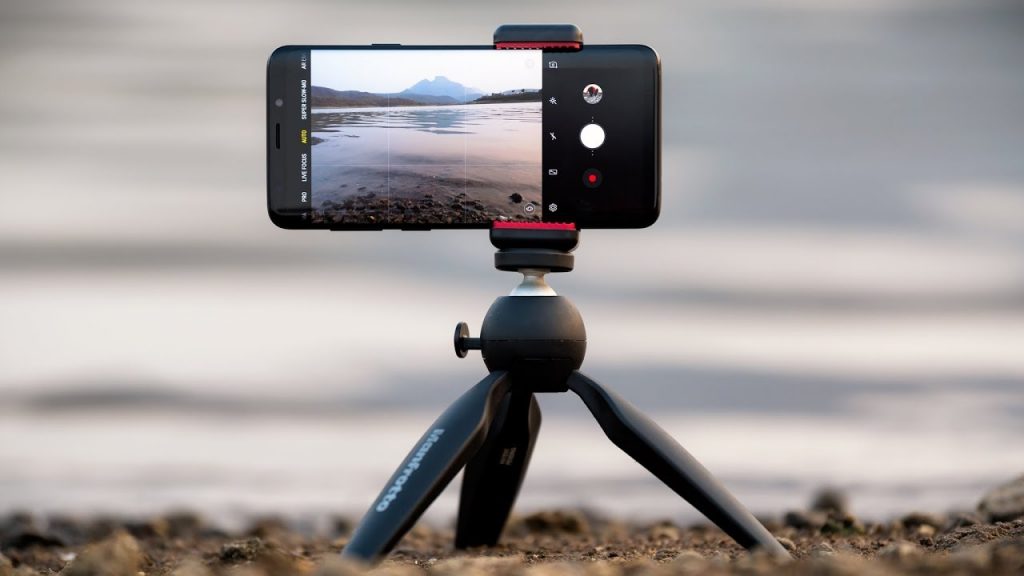
2. Use a tripod
I have pretty steady hands while I’m recording video, but if I intended to edit multiple takes with my footage later, these slight movements will ruin the professionalism of my video. Using a tripod to stabilize your footage is paramount in creating a professional video.
Most digital cameras can be used with a lot of basic tripods, and there are adapter clips for smartphones that can work with these tripods too. You’ll never have unstable footage again.

3. Don’t use digital zoom
Sometimes it can be tempting to use the zoom feature on your smartphone to get a closer shot of your subject, but since the lens isn’t zooming optically, you’re just enlarging the picture digitally. This results in one thing: pixels.
If you want to zoom in with a smartphone without it looking like pixelated garbage, then simply walk closer to your subject. Simple.
4. Lighting
Using the flash on a smartphone or digital camera to lighten a subject gives it that old VHS camcorder spotlight appearance. Something like Blair Witch Project. It can’t compare to off-camera lighting. There are plenty of lighting kits out there, some you can even build yourself out of supplies from B&Q.
My favorite lighting source to use is free and accessible for almost everyone: the sun. Natural lighting looks great in almost every instance. Face your subject toward a window for great natural light. Never have the window behind the subject though or else you’ll be left with a silhouette.
5. Exposure and focus
Smartphones and digital cameras will automatically detect and adjust exposure and focus accordingly. It’s great for taking quick snaps, but ideally while recording you’ll want to have more manual control and lock these down so they don’t adjust and leave your footage over-exposed and out of focus.
Simply tap on your subject using your smartphone’s default app to manually lock exposure and focus in your footage. This can be adjusted whilst filming. Most modern digital cameras also offer this tap feature. If not, a ‘half-press’ of the capture button will do this.
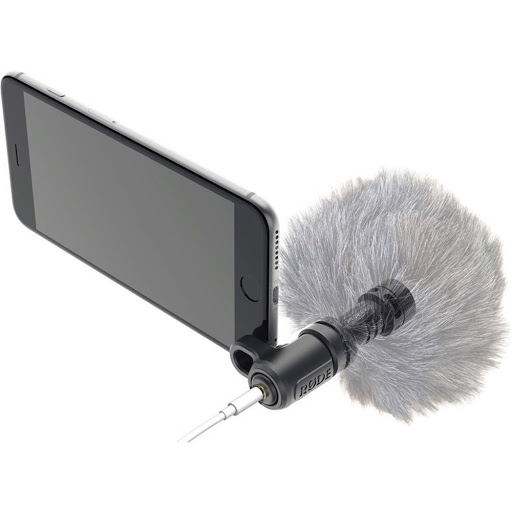
6. Audio recording
Most of the time, recording audio directly from the camera’s built-in microphone will suffice, but in professional videos, namely interviews, you will want to have a microphone as close to your subject as possible.
You can use an external professional microphone hooked up to the computer to record your audio or a memo recorder, but I prefer to use a second smartphone placed directly above the subject using a voice memo app. I would then sync this captured audio to the video footage in the editing phase later on.

7. Clip-on lenses
You might encounter an instance where you would like to widen your shot or focus on a subject that is super close. Luckily, clip-on optical lenses for smartphones are super affordable for wide or macro shots.
I’d advise that the best use of these lenses is for B-roll footage rather than for using them in an interview circumstance.
8. Slow-motion: Do not over-use it
Most smartphones come with slow motion and timelapse features installed in their default camera applications. These are great at capturing some awesome footage, but there is a right time to use them.
Slow-motion videos can be used to capture interesting movements that we skip with our eyes. Action shots are great in slow motion, but someone writing a message with a pencil might not be so interesting.
Timelapse videos are great at capturing movement over a period of time. The clouds moving, the sun setting, or a people walking through a busy street.


Looking to build customer loyalty through social media? Don’t forget to add your business to Top4.com.au
List your business, create your own digital store to sell goods and services, and share posts on social media. Promote your business on Google instantly! Should you need help with local digital marketing then view our new Google Marketing Platform and services Top4 Marketing
Get Found On Google Promote Your Website, Reach local customers today!
Our Digital Marketing Agency Services Across All Industries Include Search Engine Optimisation (SEO), Google Marketing, Website Design, Corporate Web Development, and local location-based marketing using our own Google Marketing Platform!
Engage A Social Media Agency For Only 1/3 The Cost Of Employing A Social Media Manager…LET’S TALK!
Source: Digital Communications of St. Andrews University